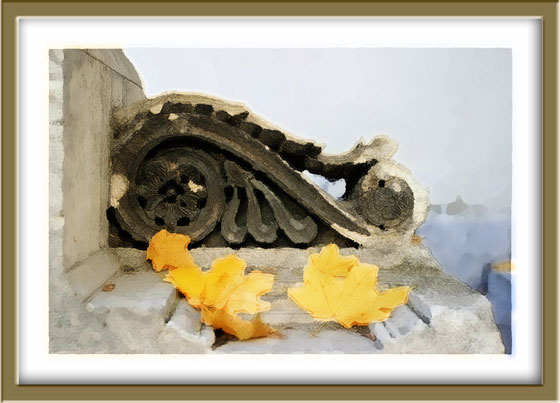
The author of this example K.J. Hartmann writes:
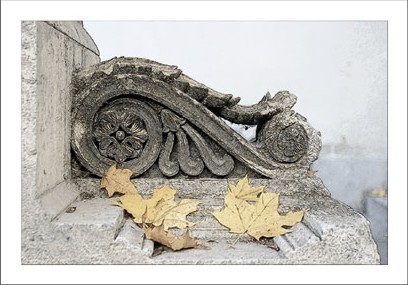
I tried many times to convert a photo to sketch or drawing using different programs but I was not always satisfied with the final image. Now I'm using AKVIS Sketch and I'm very delighted with the result!
For this tutorial I used AKVIS Sketch and one of the standard Adobe Photoshop filters. I will show you how to convert a photo into work of art.
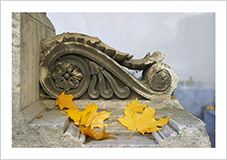
- Step 1. Open the image in Adobe Photoshop and duplicate this image to get one more layer (Layer -> Duplicate layer (Ctrl+J). By default the upper layer is selected and we start working with it.

- Step 2. Call the plugin (Filters->AKVIS->Sketch).
- Step 3. Set the parameter Coloration in the Effects panel to 40. Press the button
 . The After tab shows the resulting pencil sketch.
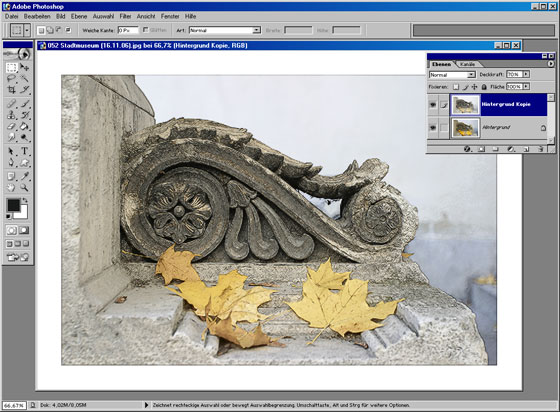
- Step 4. To apply the result press the button
 . Here is the pencil sketch that we have on the second layer of our image.
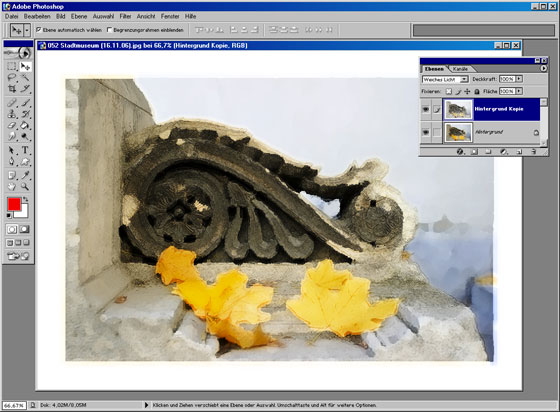
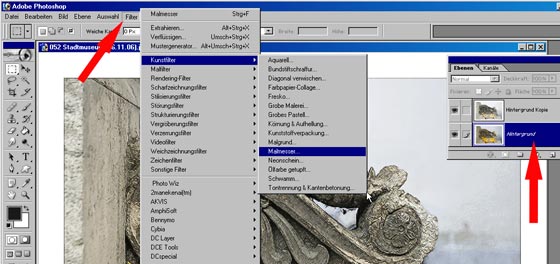
- Step 5. Now deactivate the visibility of the second layer with a double-click on the eye icon near the layer in the Layers palette. We need it to see the result of our manipulations with the lower layer. Then activate the lower layer (background layer) and work with it.
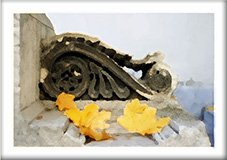
- Step 6. Call Filter->Artistic->Palette Knife on the background layer and set the parameters as you like. The result will be similar to the following picture:
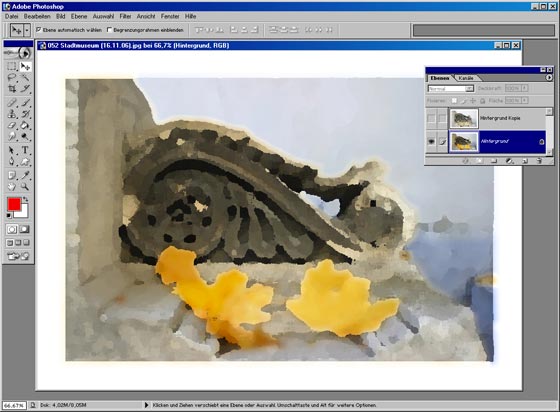
- Step 7. Activate the visibility of the first layer with a double-click on the eye icon in the Layers palette. Choose the blend mode Soft light in the drop-out menu of the Layers palette. The picture will look well in a photo frame. You can try AKVIS ArtSuite for this purpose.
